Showing posts with label speedy science. Show all posts

Saturday, 19 March 2016

Coffee Filter Science and Art

Coffee Filter Science and Art


To be honest, I can't remember what inspired this activity! I think it was something to do with pens having permanent ink or water based inks. It doesn't really matter, it was fun and the science behind it is a bonus point!


What you need:

  • Some coffee filters
  • Pens, try different types to see what happens
  • A tray or dish 
  • Water

Start off by drawing your design on the coffee filters, leave some space between the colours for the pens where the ink will run. If you are experimenting with different types of pen, use a biro and write the pen type along the sealed edge of the coffee filter.


When you have completed the design. Pour some water into the tray, open the coffee filter and stand it up in the tray, watch as the water gets soaked into the filter...

Remember to ask your child to predict what will happen and why.


This is also a lesson in patience as it takes some time to let the water soak up but slowly the magic starts to happen...


And eventually you end up with some beautiful designs. 


If you split open the coffee filters and leave to dry you can then use them for crafting, they make an interesting addition to the craft paper drawer.

The beauty of this experiment is that it can be done with kids of any age and mixed ages if you have siblings.

The Science:


Permanent markers (think Sharpie) use three main ingredients is specific quantities: colorant, pigment and resin. And although they are called permanent realistically the ink can last from a few months to several years depending on the surface that it's written on.

The colorant in a permanent pen is usually from pigment as it is less likely to bleed through paper and fade less that dyes.

Carriers otherwise known as solvents are what is used to carry the pigment to the paper and must evaporate quickly. These days most pens use alcohol based solvents.

The resin is the binder and this is what causes the pigment to stick the paper and creates a film over it once the carrier evaporates.

The other type of pen are water based markers (like Crayola or Copic) - these re more popular with parents because the ink is easier to remove when you child decides to do a Picasso on the white sofa! (why do people buy white sofas?)

Water based pen use water (duh) or glycerine to suspend the dye in. And because it is water based it's much easier to remove that permanent or alcohol based pens. It also means that in experiments like this the ink will run with the coffee filter in water. To get the same effect with permanent pens try adding a few drops of alcohol (not you gin, that would be a waste) or nail varnish remover may work too.

It would be a good way to extend the experiment, trying different solutions to see what effect it has. Just be sure not to be mixing them together. Start afresh with each new experiment, mixing chemicals together when you don't know what you are doing can lead to some nasty results!

If you try this at home, let me know how it goes!


Sunday, 28 February 2016

Speedy Science: hot and cold

This experiment was messy so do it somewhere it is easy to mop up the water, we used the bathroom, outside would work too.

What you need:
  • 2 identical jars
  • a piece of card big enough to cover the top of the jar
  • a jug of cold water, coloured with food colour, blue
  • a jug of hot water, coloured with food colour, red (slightly hotter than bath water)
1. Fill the first jar with the blue cold water.
2. Fill the second jar with the red hot water.
3. Place the card on the jar of hot water.


4. This is the tricky bit... hold the card and carefully tip the jar and card upside down...


5. Place the jar on top of the cold water jar, make sure the mouths of the jars are aligned. Then carefully remove the card...


6. Taa-daaa the colours don't mix!


7. But wait! What happens if you do it the other way around? Repeat the exercise but this time with the cold water on top, what happens?


I must admit, we had a couple of hiccups doing this and didn't quite get the jars aligned, good job we were doing it in the bathroom! Fun trick though.

The science...

Liquids of a higher density will sit beneath those of a lower density. Therefore this proves that hot water has a lower density to cold water. This is because the molecules in hot water are moving faster than the cold water molecules, which creates more space around them thereby reducing the density.

Don't forget to share the post if you think your friends would like to dye their bathroom floors purple too...


Sunday, 7 February 2016

Speedy Science: Mysterious Magic Thread

We have some more Speedy Science experiments for you!

What you need...
  • Piece of cotton thread
  • Bowl
  • Jug of water (from the tap)
  • Washing Up detergent
  • Small spoon/dropper
  • Small child (optional)
1. Tie the ends of the cotton thread to form a loop.

2. Pour most of the water into the bowl.

3. Dunk the cotton thread into the left over water to get it wet.

4. This is the tricky part... float the loop of thread on water in the bowl. What shape is it?


Now add one drop of  washing up detergent inside the loop. What happens?


If all goes to plan the thread starts out as an irregular shape but when you are the washing up detergent, the thread moves to make a circle (much harder to capture in a photograph than you might think!).

When you add the detergent the surface tension of the water inside the loop is weakened, making the outside stronger which pulls the thread into a circle.

Try it! Let me know how it goes :)

More speedy science experiment HERE


Monday, 13 July 2015

Speedy Science - mobius strips

Another fun and quick science activity.

What you need:


  • Piece of paper
  • Tape
  • Pen
  • Scissors

We didn't have a long piece of paper handy so we cut 2 strips of A4, about 3cm wide. Then taped the short ends to make one long strip.


Then hold one end of the strip and give the rest a half twist and tape the two ends together (if you imagine the paper has a front and back, you tape the front to the back)


This will give you a loop. 


Put the pen in one spot in the middle of the inside of the loop and draw a line through the middle, don't take the pen off the paper.


Magic! The pen has marked both sides of the paper!


How does it work?
What will happen if you cut along the line?
Does this trick have any practical applications?
For older kids you can get into the maths behind it all, it's a good springboard for many activities.

It is the same principle that they use in conveyer belts, audio tapes and typewriter ribbons (OK your kids might not know what they are, get some history of machines in there too!) because it uses both sides equally, so equal wear and tear.

More recently infinite scarves have been popular - same thing! So your speedy science experiment can now be a knitting project!


Wednesday, 1 July 2015

Speedy Science - step through a postcard

More speedy science experiments!

What you need:

A postcard
Pair of scissors
A volunteer

This can be done like a magic trick, pick up the postcard and ask if it's possible to step through it, of course, everyone will say no!


Fold the card in half lengthways, then make cuts from the folded edge, stopping about 1cm from the edge of the card, each cut should be about 1cm apart.


Then turn the card around and repeat from the other side, so you are cutting between the cuts you have already made. Open the card out again.


Now, be careful, you don't want to cut from the very edge, so put your scissors over the very first (edge) strip then cut through the centre, be careful not to cut the last strip (the other edge) too.


You will end up with a piece of card looking like this...


Carefully open it out, it will be a big hoop of card and then step into the middle.


Pull it over your body....


Steady as you put your arms through....


And taa-daa, take a bow and collect your winnings - assuming you have taught your child how to place bets!


Saturday, 6 June 2015

Speedy Science - The Uncontrollable Arm

Another fun one, I thought everyone knew this trick but it appears not!

What you need:

Small or large person
A wall

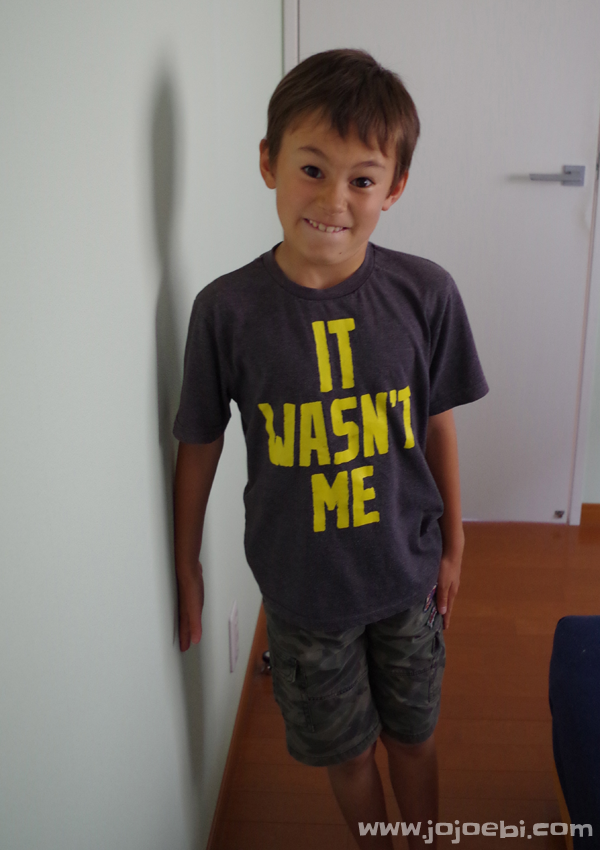
Stand about 6 inches from the wall and push the backside of your hand against it...


Push as hard as you can, using your arm muscles for at least 30 seconds, longer if possible!


Which sounds easy but actually, it's not...


When the time is up relax you arm and put it back by your side, it will lift itself, just like magic. To make this more impressive you can utter a spell and demand that the arm rises!


Tuesday, 19 May 2015

Speedy Science...

Sometimes you just need some high speed science tricks to keep your child amused! This one is perfect.

What you need:


  • Piece of printer paper
  • Scissors

1. Take a piece of printer paper and fold it in half lengthways, the open it out flat again. Then fold it the other way and again, open it up and lay it flat.


2. Cut from the longest edge up to the centre along the fold...


3. The next bit is a little tricky, you want to fold the paper into thirds. Take the short side and fold it over until it looks like it is 2/3 of the way across and pull the opposite side so it is folded over 1/3 of the way. Crease the paper then open it out again. 

4. Turn the paper so the cut is at the top and then cut along the third folds to the middle. You should have something like this...


5. This is where the magic happens. you don't need to write the numbers on the paper, in fact it's better if you don't, they are just there to make the explanation easier...

Lift up flap 4 so that it is vertical. Then grab 2 and fold it under so it's upside down and laid flat where 5 used to be and 5 is now upside down where 2 was.

This will give the illusion that there is too much paper for the holes. If your paper is all one colour it's really baffling but if you use paper with a different colour on each side, you can see that the paper is twisted!


Pin It button on image hover