

Today I am going to introduce you to Zhing who has a cute blog Little projects In Style, as an ex wedding planner you just know she is going to have lots of eye candy on her blog along with cute projects and pictures of her dog dressed as sushi (among other things!)
Hi everyone!! I'm Zhing, from over at Little Projects in Style. I love to craft
and make happy little things for my little family. On my blog, I share tutorials,
ideas, pictures that inspire me and a little peek into our lives in Japan. I'm so
happy to be part of this crafting series! It's my first time guest posting anywhere
so I'm totally flattered!!
and make happy little things for my little family. On my blog, I share tutorials,
ideas, pictures that inspire me and a little peek into our lives in Japan. I'm so
happy to be part of this crafting series! It's my first time guest posting anywhere
so I'm totally flattered!!
I'm a beginner to sewing but my love for pretty fabric and adorable handmade
crafts has kept me going. Inspired by the gorgeous lunch boxes Japanese
mommies put together for their husbands and children, I wanted to do the same!
So, one of the first things I made was a lunchbox bag for my husband so he thinks
of me at lunch. I still laugh when I see the crooked stitches and fraying corners
but he's still using it till today! :)
Today, I'm going to share a super easy craft that you can make in less than 20
mins!
mins!

A little lunchbox holder.
But wait for it!! It also doubles up as.....

.. a pretty placemat!
Are you ready? It's super easy! :)

All you need ::
(2) Pieces of fabric
Scissors
Sewing Machine
Needle & Thread
(1) Button
Elastic Trimming / Elastic for hair-ties
Pretty Trimming (optional)

1. To start, cut your fabric into 18" squares (about 45 cm). You'll need two
pieces!! Make sure your little assistant approves of your fabric choice. :)
pieces!! Make sure your little assistant approves of your fabric choice. :)

2. Line the two pieces of fabric right side to right side. Sew all four sides with 1/
4" seam allowance, but leave a 3" opening on one of the sides. I used the most
basic sewing machine stitch on it.
4" seam allowance, but leave a 3" opening on one of the sides. I used the most
basic sewing machine stitch on it.

3. Snip your edges so you can get sharp corners.

4. Turn it inside out through the 3" opening so the right sides are facing you. Use
your scissors or something sharp to make sharp edges! Iron it flat.
your scissors or something sharp to make sharp edges! Iron it flat.

5. If you decided to use a trim, pin it close to the edge now, then machine stitch
over the trimming. Pay special attention to the 3" opening and make sure the raw
edges are tucked in.
over the trimming. Pay special attention to the 3" opening and make sure the raw
edges are tucked in.

I folded the square in half just to show you how the top side and the underside
looks! I decided to use the plain as the top and the floral as the underside
because it's easier to hide stains with florals.
looks! I decided to use the plain as the top and the floral as the underside
because it's easier to hide stains with florals.


6. Cut a 20" piece of elastic trimming. Make a loop with the elastic and
hand stitch it to any corner on the top side.
hand stitch it to any corner on the top side.

7. Add a button on the top of the elastic and you're done! :)

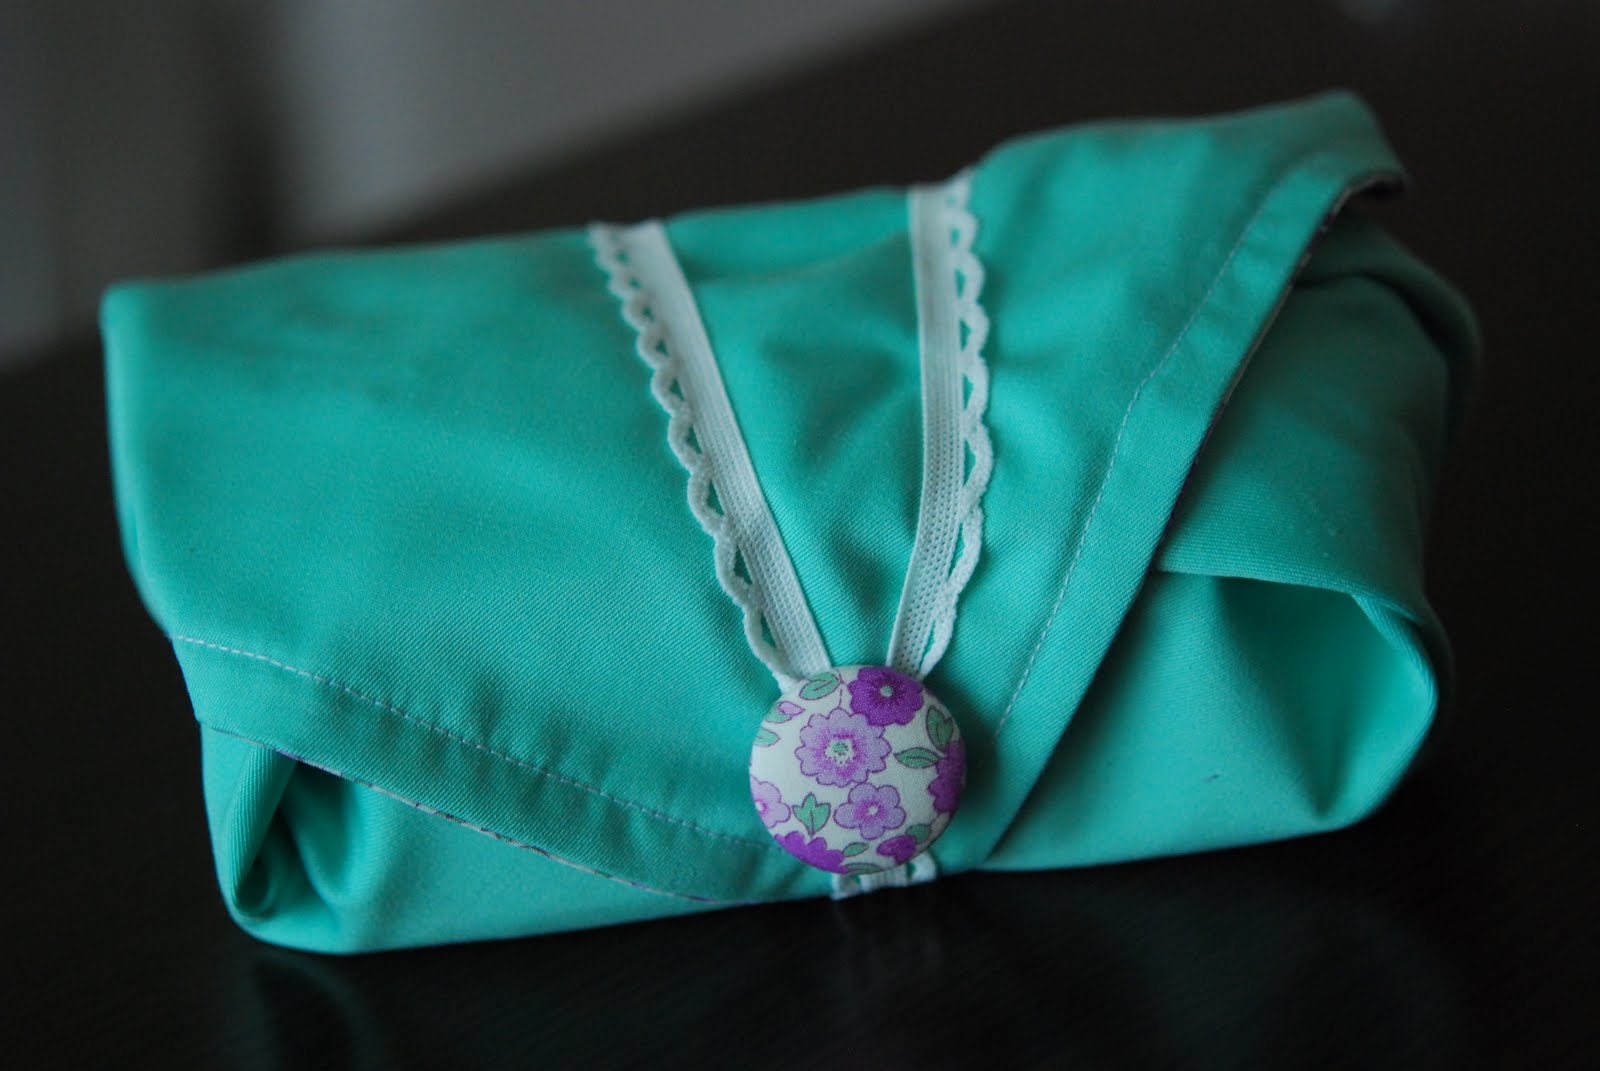
All wrapped up ready to party!

The best part is, it works for lunchboxes of most shapes and sizes so you don't
need a pouch for each lunchbox you own. And its machine washable for mucky
eaters!!
need a pouch for each lunchbox you own. And its machine washable for mucky
eaters!!

Bon Appetit!!
Thanks for having me, Jo! Your blog is one of my favorites to wake up to and I
hope I'll find an equally charming craft buddy as ebi-kun one day! xx
hope I'll find an equally charming craft buddy as ebi-kun one day! xx
Very pretty craft! I like its 2-in-one functionality. :)
ReplyDelete